
Happy New Year! Holidays are the perfect excuse to eat and indulge. And when it comes to indulgence, what tastes better than something chocolatey? These Chocolate Sugar Cookies soft in the center and crisp on the edges, are melt in your mouth delicious! They go perfect with a good cup of coffee or tea and are a great holiday cookie.

I will be honest to admit that I have absolutely no experience in baking, whatsoever (other than pizzas, garlic breads, pies and lasagnas, would you call that baking?). So when I thought of baking cookies, I did not want it to end up in a disaster. Hence, before I started, I prepared myself by reading many recipes, what tastes good and what are the common pitfalls while making cookies. I am glad to tell you that my very first experience with baking was a success.

Baking is very different from cooking where you can use estimates to determine the quantity of the ingredients, do a taste test and adjust accordingly. Baking is like science, the ingredients need to be in the perfect ratio for the perfect results, even a teaspoon more or a teaspoon less can ruin the dish. Also, there is no opportunity for a taste test until the dish is finished. So, if you are a new to baking like me, the first step for you is to get the right tools.

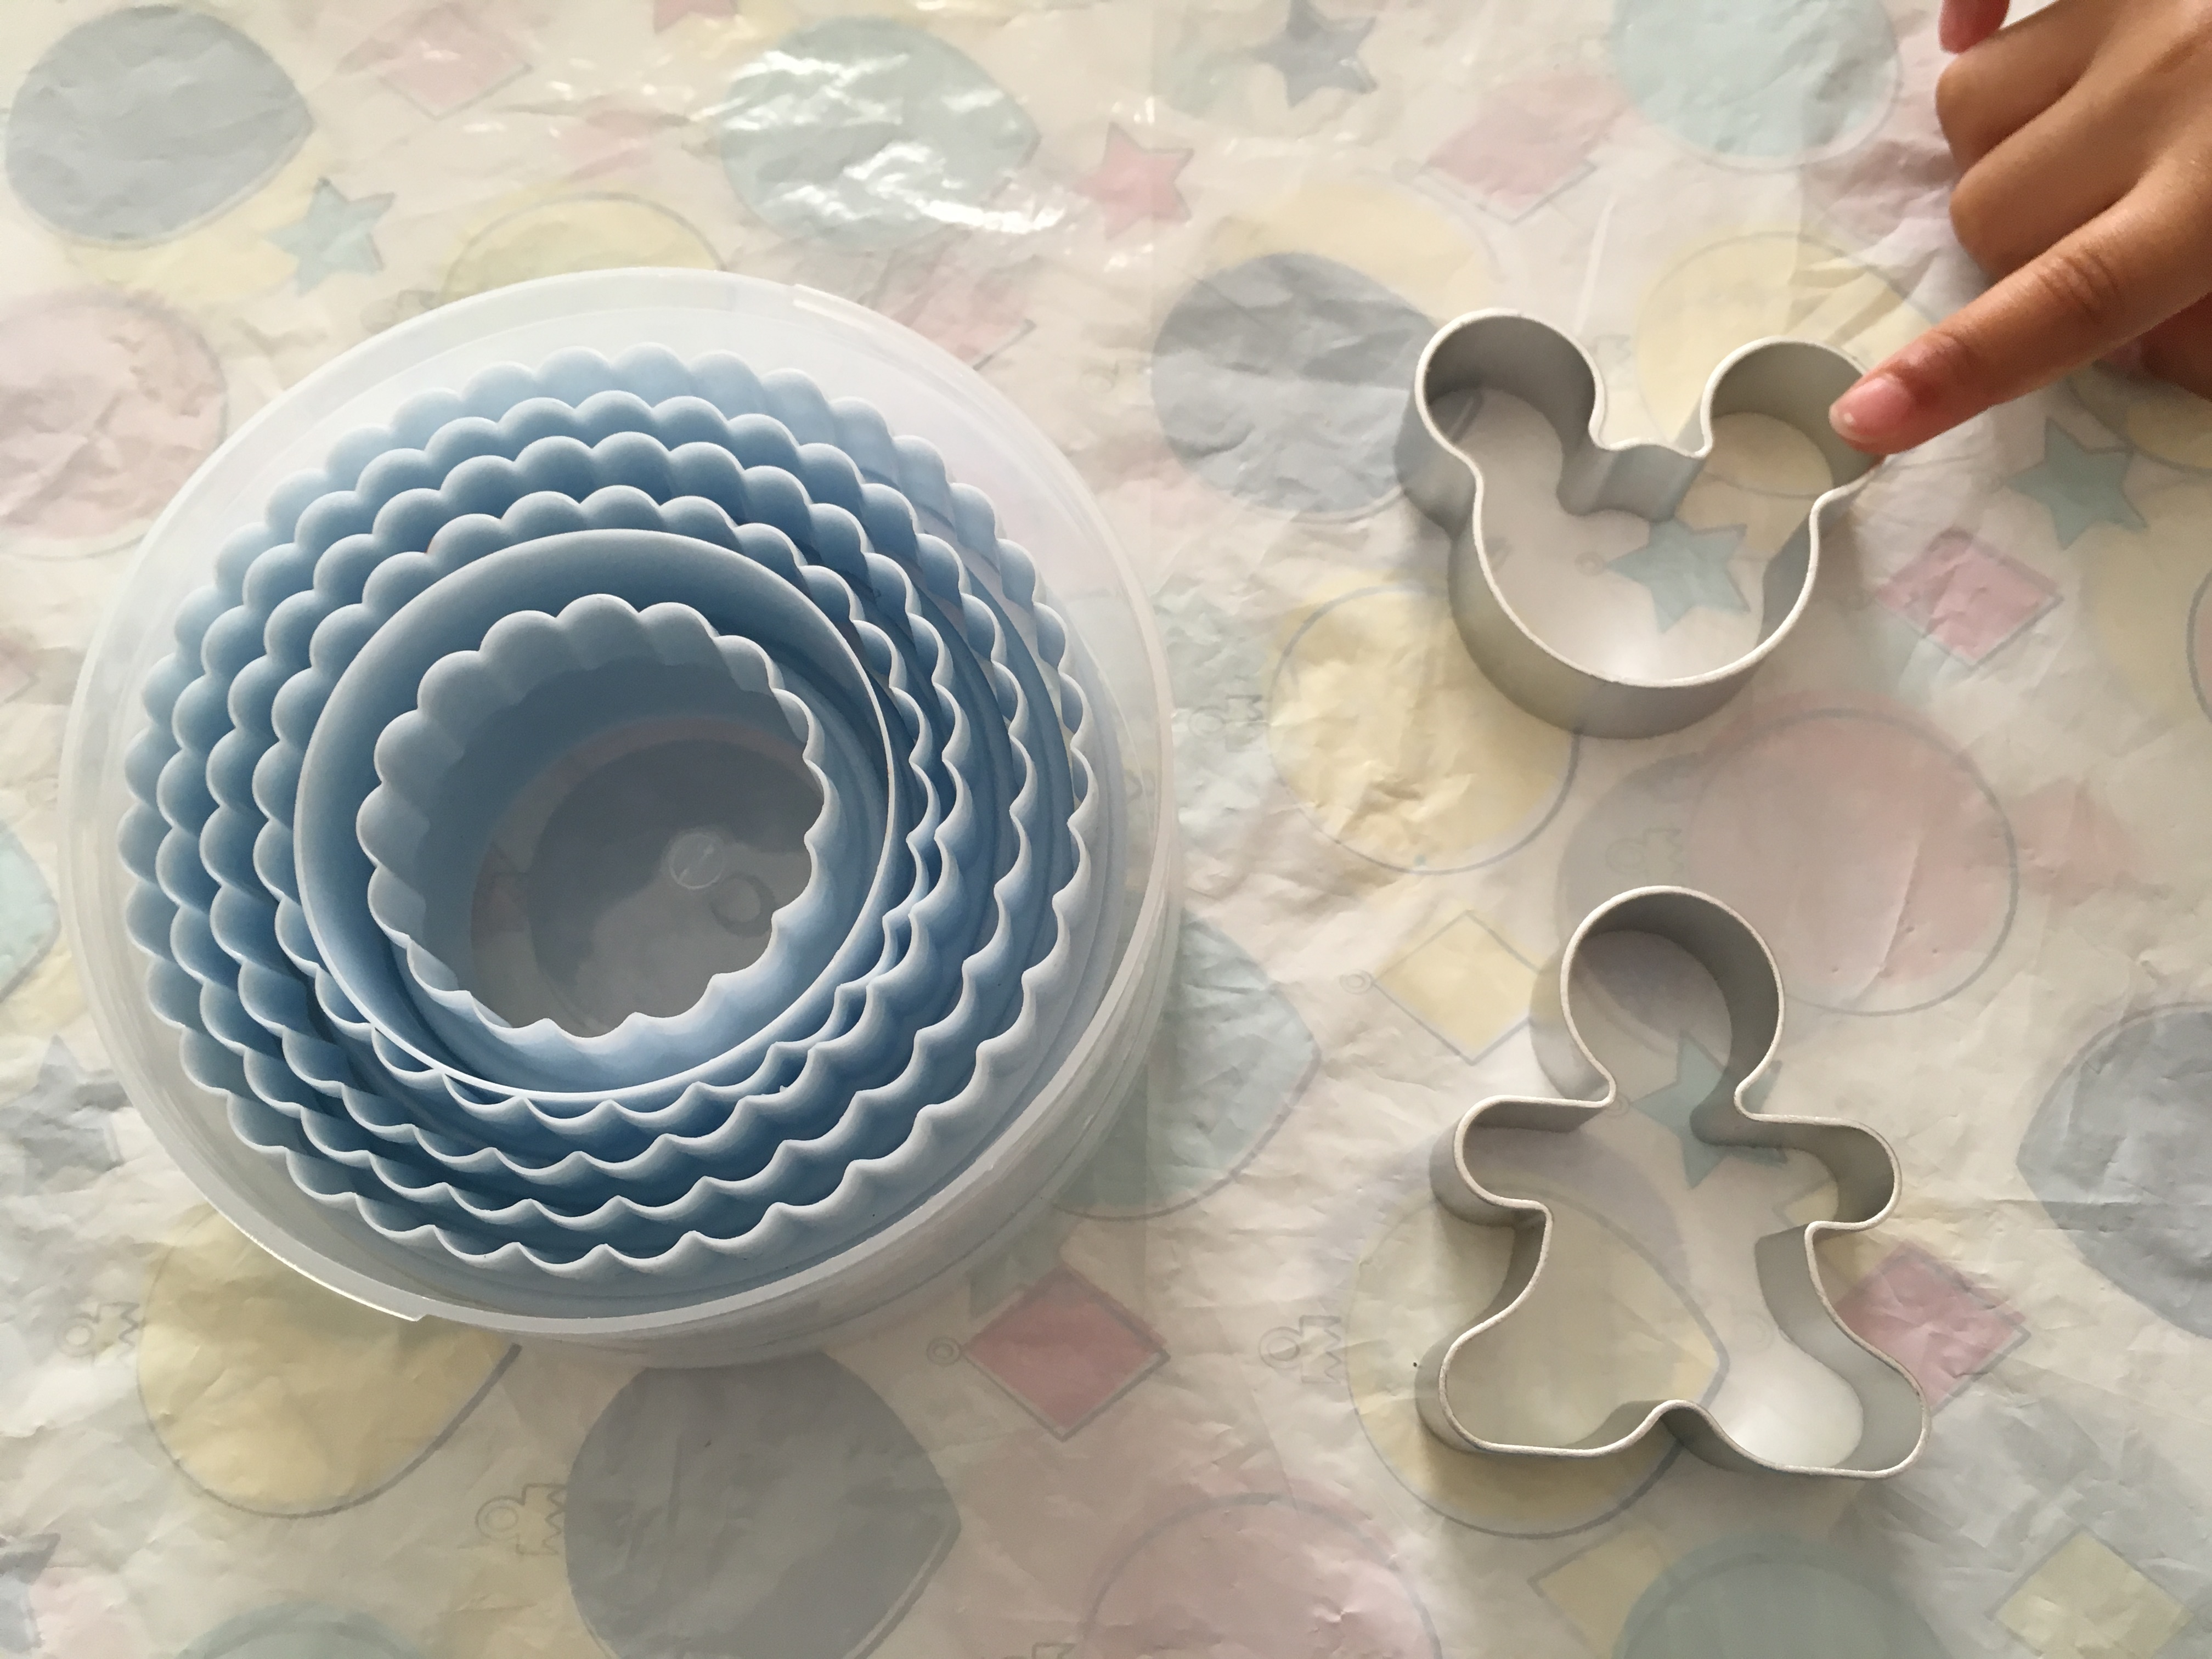
To start with, invest in dry measuring cups, measuring spoons, a wet measuring cup and cookie cutters. I have bought the cheap plastic ones. These cups and spoons will be useful for all baking recipes including cakes. I will be sharing a cake recipe very soon. Cookie cutters come in all shapes and sizes. So choose whichever you like. I really wanted to do a gingerbread man for my daughter. It came as a pair with the Mickey Mouse cutter, isn’t it really cute?
- Prep Time: 45 min
- Cooking Time: 10-12 min
- Serves: 15-20 cookies
Ingredients:
- 1/2 cup cold unsalted butter(1 stick), cut into small cubes
- 1 tablespoon oil (light/neutral flavor such as rice bran or light olive oil)
- 2/3 cup granulated sugar
- 1 teaspoon vanilla extract
- 1/2 teaspoon salt
- 1 large egg
- 1/4 cup cornflour
- 1/2 cup unsweetened cocoa powder
- 1 1/4 cups all-purpose flour (an additional 1/2 cup may be required)
- Note: I have skipped the baking soda as it causes the cookies to spread and no leavening agent is required in this recipe.
Measuring the ingredients
Measuring the ingredients right is the most important step in baking the cookies. Having more flour will give you a dry texture but having less will give you a very soft cookie. Use the cups for dry ingredients such as flour, sugar and cocoa.
Dry ingredients:
- To measure flour, sugar and cocoa, ensure it is not compacted by stirring it a few times with a spoon. Next, dip the cup in to fill with some excess on the top. Then using the back of a knife, level the cup removing the excess. This is called the dip and sweep method.
- Alternatively, you can fill the cup by scooping the ingredients using a regular spoon ensuring you do not tightly pack it and then again levelling the cup using the knife.


- Some people recommend sifting the dry ingredients together to mix them evenly but I just give them a good mix with hand before adding the wet ingredients.
- Use the measuring spoons to measure salt, oil, vanilla extract. Level the spoon with the knife when measuring salt.

Some butter packaging have markings to indicate cups or sticks. If you do not have it, use the following technique to measure 1/2 cup.

- Fill the measuring cup to the 1.5 cup mark with cold water.
- Add cubes of butter until the water comes up to the 2 cup mark. Be sure to view it at the eye level for accurate reading.
- Carefully, pour the water out, what you are left with is 1/2 cup butter.
Making the Dough
I did not use an electric mixer to make the dough. If you have one, go ahead and use it. I used the good old fashioned way of kneading the dough with hands like we do for rotis.
- Mix oil, softened butter, vanilla extract, salt and eggs. Use a hand held mixer or whisk to combine them. Do not overbeat the mix as this will result in dry cookies.
- Add cornflour, cocoa powder and 1 1/4 cups of the flour and start kneading into a dough. If it is not binding into a ball, add more flour little by little.
These cookies are not very sweet but they will be decorated using fondant which is very sweet. If you are not going to decorate them, feel free to increase the quantity of sugar to 1 cup.
Rolling the dough
The most common failure that happens with cookies is that they spread while baking and loose shape. To prevent this from happening, the dough needs to be chilled before you cut the cookies. Also, chilling the dough makes it a lot easier to cut cookies with very neat edges and not spread or lose shape while you pick them up from your rolling surface.

Rolling the dough between parchment sheets avoids dusting the surface with flour. This not only prevents extra flour in cookies but also creates less mess in the kitchen.
- Cut a sheet of parchment paper. Take a small ball of dough and roll it between two sheets of parchment paper using a baking rolling pin.
- Put it in the freezer for 20-30 minutes until the dough hardens.
Remove it from the freezer and cut out the cookies using the cutters.


Cutting the dough
- When the dough is firm, remove the top sheet and cut it using the cutter of your choice. If the dough is too hard to be cut, let it sit for few minutes before cutting.
- Reuse the leftover dough by making it into a ball and rolling it again.


If you find the cookie is sticking to the cutter, you can dip the cutter into flour before cutting. However, with frozen dough getting the cookie out should not be a problem.
To get neat edges, I also prefer to tidy up the edges with a fondant Xacto knife after cutting but still having the cookie within the cutter.


Making Popsicle Cookies
If you want to make the cookies as popsicles, after you cut the cookies, make a small wedge at the bottom with a knife. Insert the popsicle stick into the wedge and carefully push it down to at least half the height of the cookie.

Baking the cookies
- Line up the baking tray with baking paper.
- Pre-heat the oven to 180 °C.
- Carefully pick up the cookies while still frozen and space them evenly on the baking tray.
- Bake on parchment-lined baking sheets for 9 to 12 minutes, or until the cookies look dry on the surface, and feel firm around the edges and set in the middle.
- Cool them completely on a cooling tray before decorating.


Decorating the cookies
Decorating the cookies is the most fun part. Use your creative juices to come up with designs. Traditionally royal icing is used to decorate the cookies but I have used fondant as I find it easier to use it.
- Always knead the fondant for 3-5 minutes until it is soft and smooth.
- You can roll the fondant on parchment paper or dust the surface with powdered sugar.
- Roll the fondant 1/8 inch thick. You can use rolling pin rings to achieve even thickness. I got these rings with the pin but I did not even realise their purpose until I made these cookies:D.
- Use an Xacto knife to cut the fondant.
- Use water to stick the fondant to cookies. Use a thick (1/2 inch) painting brush or pastry brush to apply water.

Pirate cookies
- Red fondant
- Skin tone/yellow fondant
- Black fondant
- White fondant
- Roll the red fondant 1/8 inch thick. Using the round cutter, cut a circle.
- Cut the circle into 2 slightly off center to make the red bandana.
- Similarly roll and cut the skin tone fondant.


Just use free hand to cut the moustache and the bandana knot. You can also choose to make a smiling face instead of the moustache.


Cut a small square of black and stick it to a thin log to make the eyepatch.

Finally roll small balls of white and black to make the other eye. I have piped royal icing to add the dots to the bandana but you can also roll small balls of white fondant.

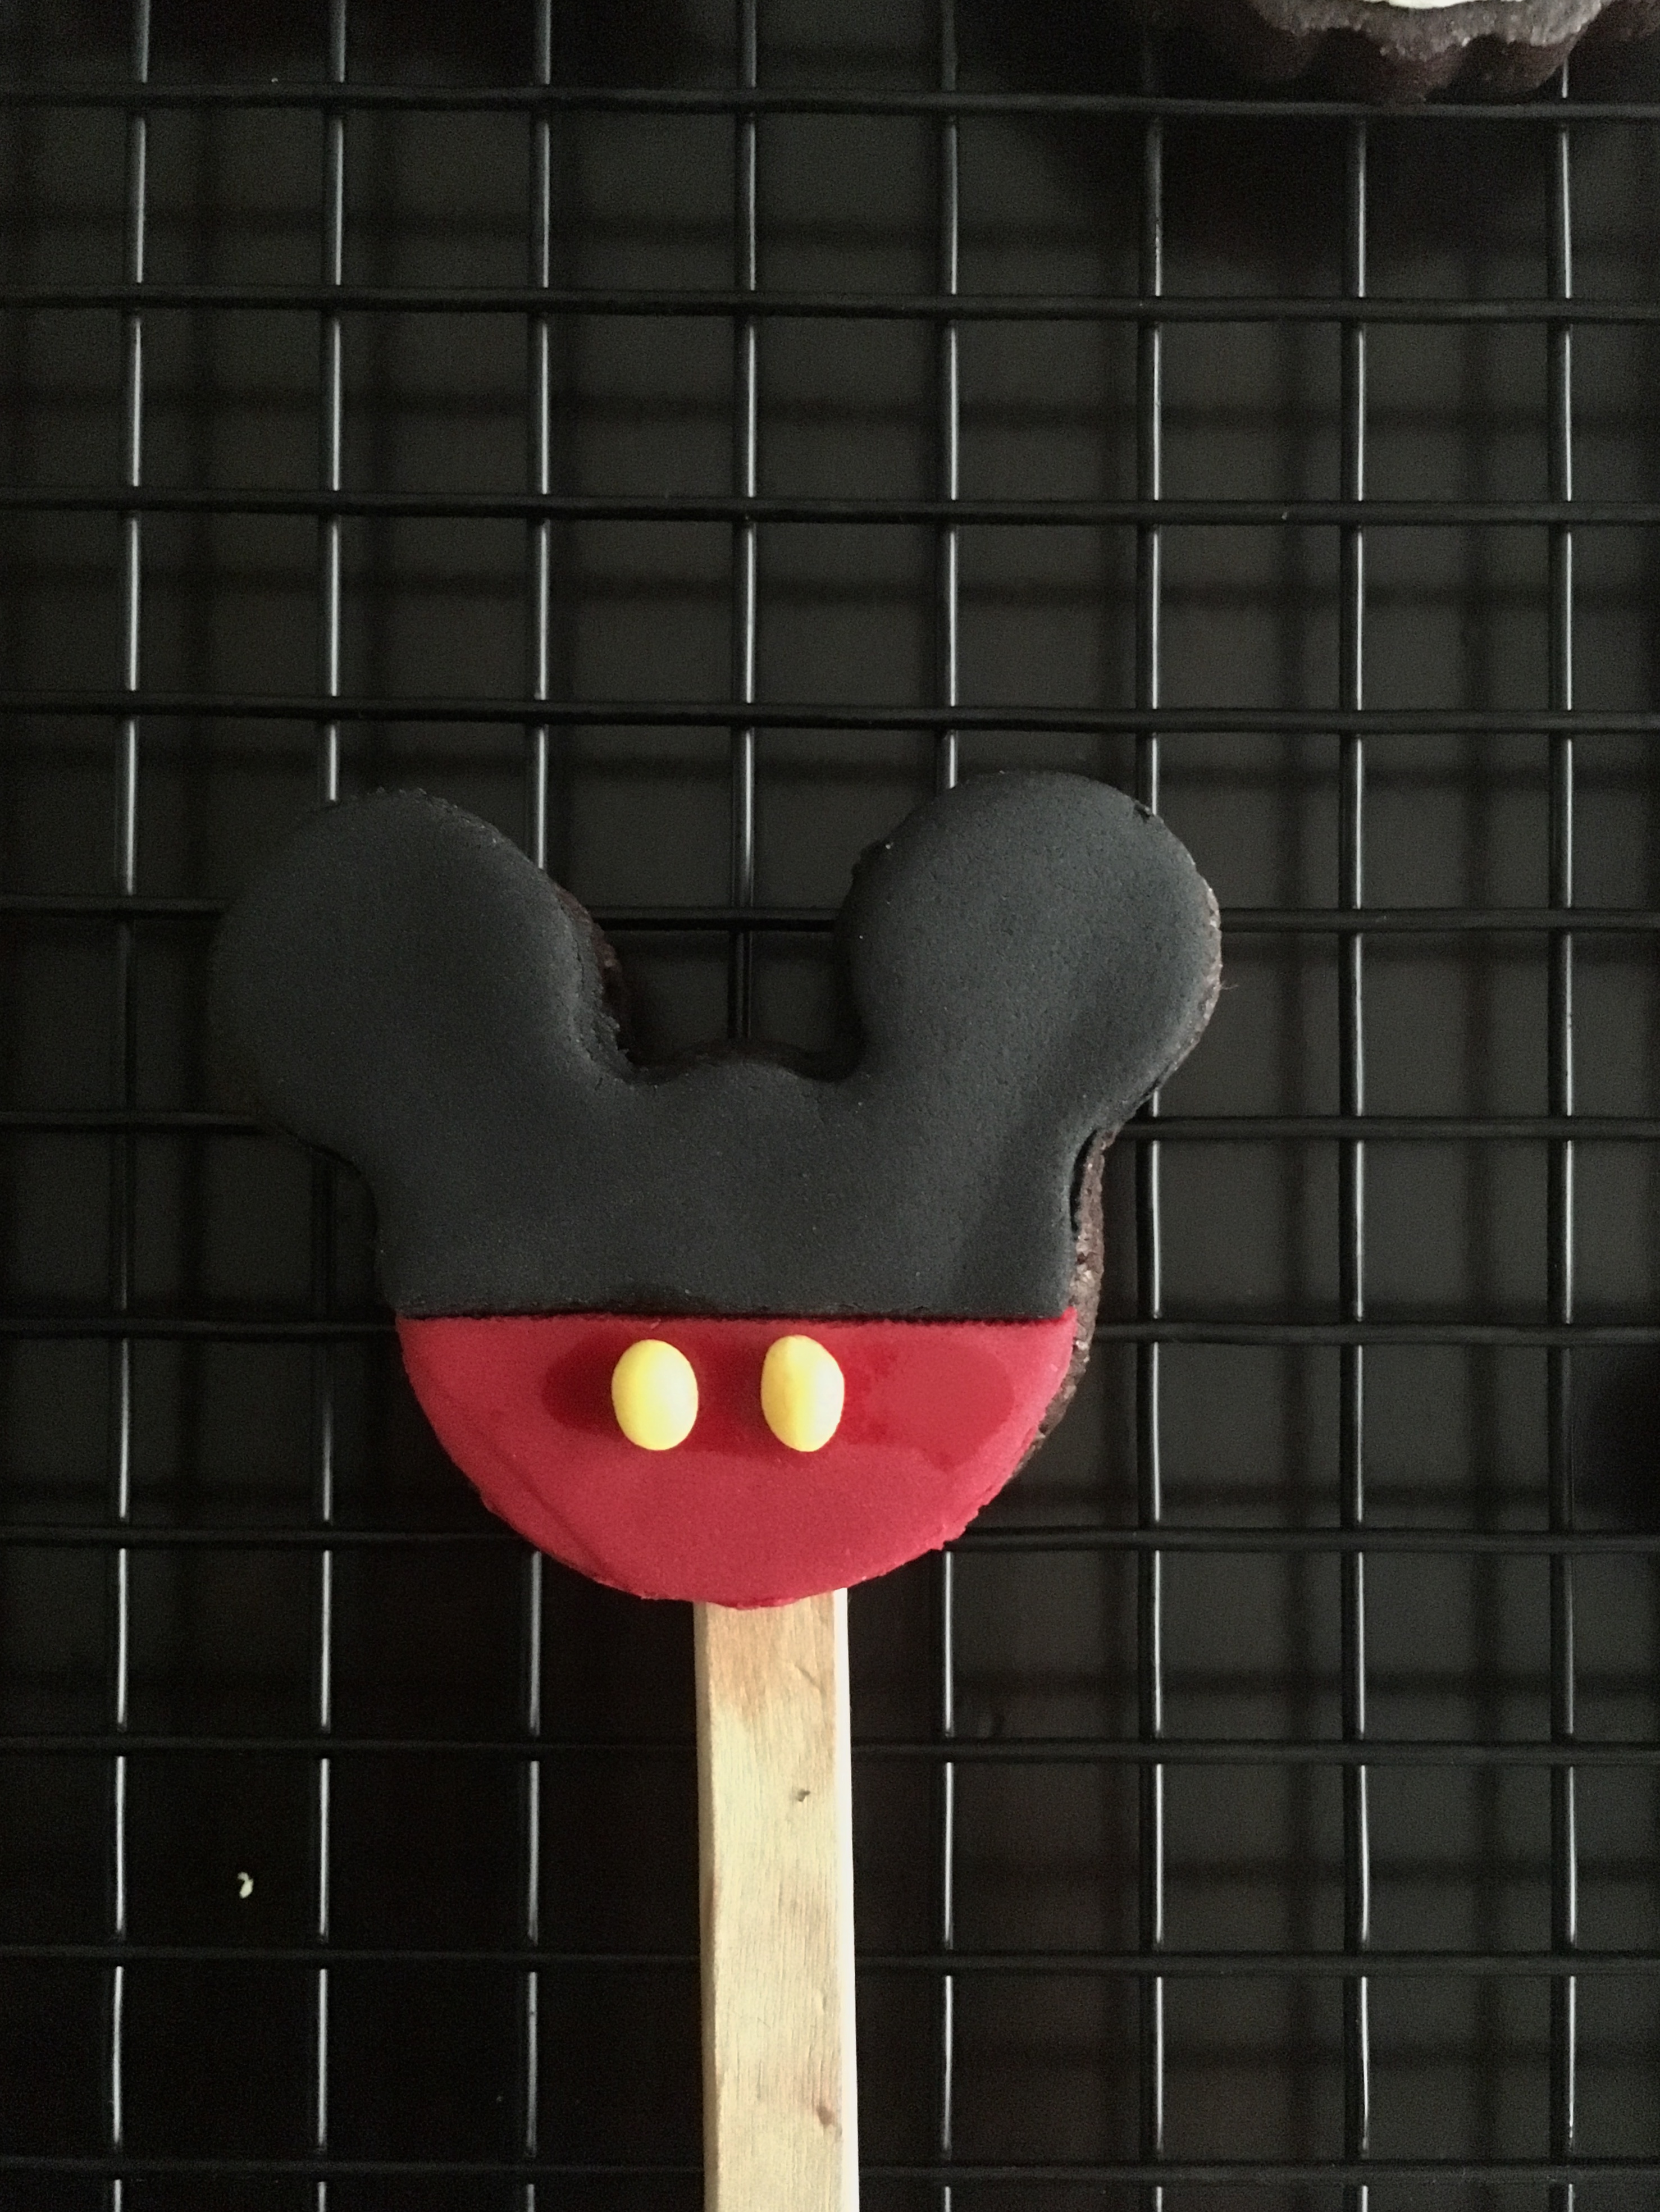
Mickey Mouse and Minnie Mouse
- Red fondant
- White royal icing or fondant
- Black fondant
- Pink fondant, add few drops of pink/red to white fondant get the right shade
- Roll and cut the black fondant into a circle. Cut into halves.
- Roll and cut the red and pink fondant into a circle. Cut into halves.
- Stick the black to the top half and red/pink to the bottom half.
- Put two small white or yellow balls for Mickey’s buttons.
- For Minnie’s bow, I cut two small triangles and stick them together.


Gingerbread Man
- Red fondant
- Yellow fondant
- White fondant
- Roll and cut red fondant using the gingerbread man cutter.
- Cut the lower half and stick to the cookie to make the trousers.
- Cut two thin strips of red fondant to make the straps on the shoulders.
- Cut two triangles to make the bow.
- Put eyes and a smiley face.
- For the shawl, cut a thin strip of yellow and wrap it around the cookie. Using a fork, make indents for the design.


These cookies can also be used as gifts. Wrap them beautifully. I actually gave them away for a fund raising sweet stall that my daughter’s day care had put during Christmas celebrations.


Wonderful post! These cookies look so cute & beautiful, thanks for sharing a detailed recipe.
Wish you a very happy New Year!!
LikeLiked by 1 person
Thanks Megala. Happy New Year!
LikeLiked by 1 person
Thank you!
LikeLike
Cookies look so cute. A complete party attractive preparation!!!
LikeLiked by 1 person
Thanks Deeksha🙏
LikeLiked by 1 person